
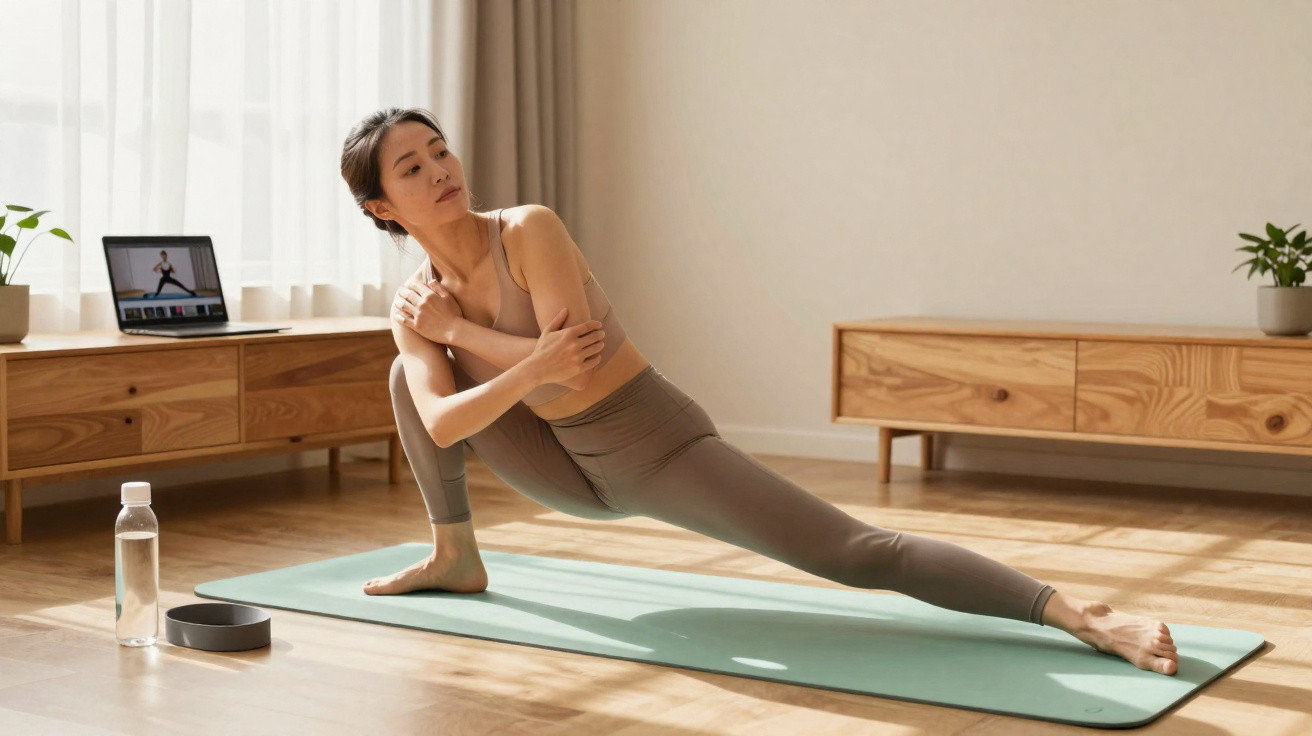
If your waistband feels restrictive, you become bloated after eating and crunches only give you neck pain, you may be looking for a different approach. Pilates promises to strengthen the core without putting the spine through unnecessary strain. Particularly interesting is that certain exercises specifically engage the lower abs, an area that traditional sit-ups often fail to target properly.
Why Pilates tones the waist without a crunch marathon
Pilates focuses not on the visible “six-pack layer” but on the deeper muscles beneath it. These deep abdominal muscles function like an internal corset, shaping the waist from within.
While the rectus abdominis and obliques are primarily responsible for visible strength and bending the upper body, the transverse abdominis stabilises the entire torso. This is where Pilates comes in: with every deliberately controlled exhalation, the instructor gently draws the stomach in before the actual movement begins.
“The effect of a flatter stomach comes mainly from teaching the deep muscles to stay engaged all the time – while standing, walking and sitting.”
This brings several benefits at once: the waist looks more defined, the back is relieved and posture becomes more upright. After a few weeks, many people notice that they sit straighter automatically and are less likely to overarch their lower back. This in turn reduces pressure on the lumbar spine and can ease back pain.
The coach’s 5 favourite Pilates exercises for a toned core
From dozens of variations, the Pilates coach has chosen five classics that can easily be performed at home without equipment. Every exercise works the core, while some also target the glutes and hamstrings.
- Single Leg Stretch – primarily activates the transverse abdominis and obliques, improving core endurance.
- Double Leg Stretch – works the entire abdominal area while also mobilising the shoulders and hips.
- Double Leg Lower Lifts – puts a clear emphasis on the lower abs and lower abdominal wall.
- Shoulder Bridge with Kick – strengthens the glutes, hamstrings and back while the core remains stable.
- Scissors – trains hip mobility and keeps the abdominal muscles continuously engaged.
Single Leg Stretch: controlled pulling rather than rapid pedalling
Starting position: lie on your back, lift your head and shoulder blades slightly, draw one knee towards your chest and extend the other leg diagonally forwards.
Change the position of your legs with every breath. One leg comes in as the other lengthens away. The coach pays particular attention to keeping the stomach flat and the lower back heavy against the mat. The movement should come from the centre of the body, not the neck.
Double Leg Stretch: arms and legs work with the core
Begin again on your back, with both knees drawn towards your chest. Your head and shoulder blades hover slightly above the floor. As you inhale, lengthen your arms and legs far forwards without allowing your lower back to arch. As you exhale, bring everything back towards the centre.
The key is to keep your navel gently drawn in throughout the entire movement, as if you were doing up a zip. This keeps the torso steady even while the arms and legs travel through a large range of motion.
Double Leg Lower Lifts: lower-ab focus
Extend your legs into the air at roughly the angle of a diagonal V-shape. On an exhalation, slowly lower both legs towards the floor – only as far as you can without your back lifting away. On the inhalation, raise the legs again.
“Less is more here: anyone who lowers their legs by only a few centimetres but keeps their back stable trains the lower abs far more effectively than by flailing wildly almost down to the floor.”
The coach stresses that this detail often determines whether the exercise works: once the back slips into an arch, the effect on the lower abs is lost – and the back starts to complain.
Shoulder Bridge with Kick: glutes, back and abs working together
Lie on your back with your feet hip-width apart and your arms by your sides. As you exhale, roll up one vertebra at a time until your knees, pelvis and shoulders form a line. From this bridge position, extend one leg up towards the ceiling, then lower it in a controlled way until it is level with the other knee. Lift it again, then change legs.
Throughout the movement, the abdominal muscles keep the pelvis stable so that it does not tip to one side. At the same time, the glutes work strongly, providing extra support for the lower back.
Scissors: a scissor movement for hips and abs
Lying on your back, lift both straight legs upwards. Take one leg towards the ceiling while lowering the other in a controlled manner towards the floor. At the top position, you can gently hold the raised leg with your hands and give it two small pulses as you breathe. Then switch sides.
Your abdominal muscles stay active throughout. The coach also makes sure that the ribcage remains relaxed and the shoulders do not creep up towards the ears.
How to build a home routine for a flatter stomach
A short 10 to 15-minute block is enough to turn these five exercises into a useful routine. The instructor recommends the following order:
- Single Leg Stretch
- Double Leg Stretch
- Double Leg Lower Lifts
- Shoulder Bridge with Kick
- Scissors
When starting out, eight to ten repetitions of each exercise are sufficient. A relatively slow pace and mindful breathing are important. If your core is not yet very strong, shorten the levers instead: do not lower your legs as far, rest your head down if necessary and include breaks.
“Most people notice a different body awareness after the first few sessions – less wobbling through the core and more control when standing up, climbing stairs or carrying things.”
How often should you train – and when will visible effects appear?
Reports from practical experience often mention the first visible changes after around three weeks. The condition is that you complete the routine two to three times a week, alongside a reasonably balanced daily lifestyle with enough movement and sensible nutrition.
| Training frequency | Expected effects |
|---|---|
| 1× per week | slightly improved body awareness, minimal visible change |
| 2–3× per week | noticeably greater core stability, a flatter-looking abdominal area |
| 4× per week | clear toning, better stance, less tendency to overarch the lower back |
If you have not exercised for a long time or already have back problems, it is better to begin with two shorter sessions and build up gradually. A painful neck is a warning sign: rest your head down and practise the deep breathing first before increasing the intensity.
Living room rather than studio: Pilates without expensive equipment
One advantage of this routine is that it works almost anywhere. A non-slip surface, such as a mat or firm carpet, is all you need. It is best to keep your feet bare so that you can feel both stability and contact with the floor.
If you would like more variety, simple household items can help. For instance, two socks on a smooth floor can replace sliding pads and add an extra challenge for the core muscles. You can use them to perform slow sliding movements with your feet while your stomach maintains the alignment.
Who is this Pilates routine suitable for – and what are its limits?
In principle, Pilates is suitable beyond the ages of 50 or 60, especially because the movements are controlled and usually slow. As you get older, however, a smaller range of movement is advisable. In other words: do not lower the legs as far, do not lift the bridge quite as high, and choose short sets rather than long rounds.
People with known heart problems, severe high blood pressure or recent back injuries should seek medical advice beforehand. A pronounced pulling sensation in the back, sharp pain or dizziness are signs to stop immediately. Pleasant muscle fatigue is fine, but pressure pain around the spine is not.
Why breathing and the pelvic floor are crucial for a flatter stomach
One point that is easily missed in a fast online workout is the pelvic floor. In Pilates, the pelvic floor works together with the deep abdominal muscles. With every exhalation, the instructor gently engages the pelvic floor – as though you were trying to stop the flow of urine briefly. At the same time, the stomach draws slightly inwards.
“Anyone who links this internal tension to their breathing gets much more from the exercises, even if there does not appear to be much happening from the outside.”
This approach can be particularly helpful after pregnancy or long periods of sitting, making it easier to experience the core as one connected unit again. A stable pelvic floor also helps protect against problems such as incontinence and creates a more secure feeling during exercise.
How to stay motivated – and actually stick with the routine
Three weeks may sound brief, but in everyday life it is long enough to give up halfway through. Clear, manageable goals can help: for example, three ticks in the calendar each week, a permanent space for your mat in the living room and two fixed training times that become habitual.
Many people prefer a short morning workout before the day “sweeps them away”. Others use a session after work as a deliberate counterbalance to office life. If you like, take a short video of yourself on day one using your phone. After a few weeks, you can clearly see changes in posture and body tension – which often motivates more strongly than the number on the scales.

Comments
No comments yet. Be the first to comment!
Leave a Comment